kedd, január 26

Sd.Kfz. 251/1 Ausf.D - part 4: Priming the interior and finished 'Hans'

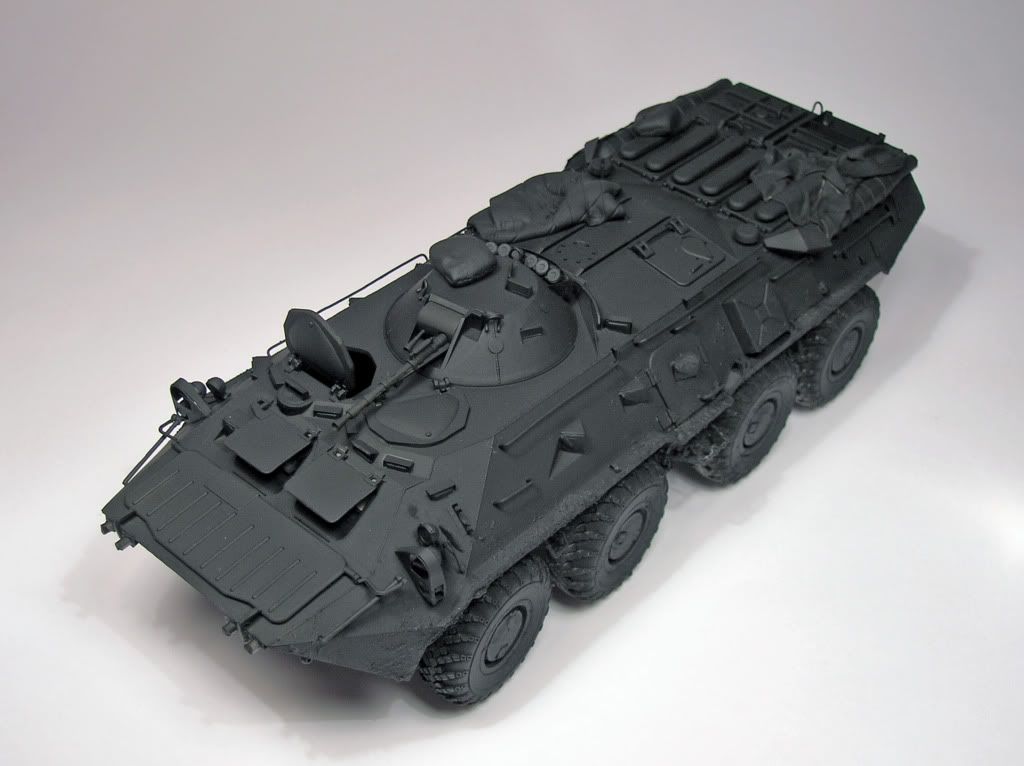
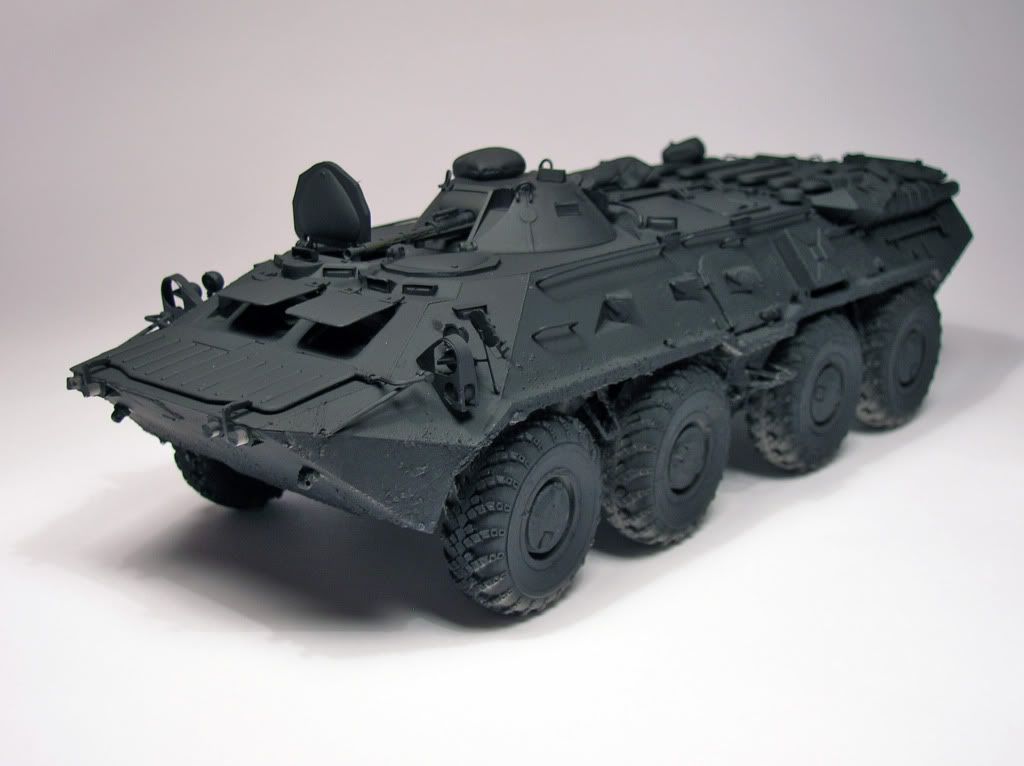
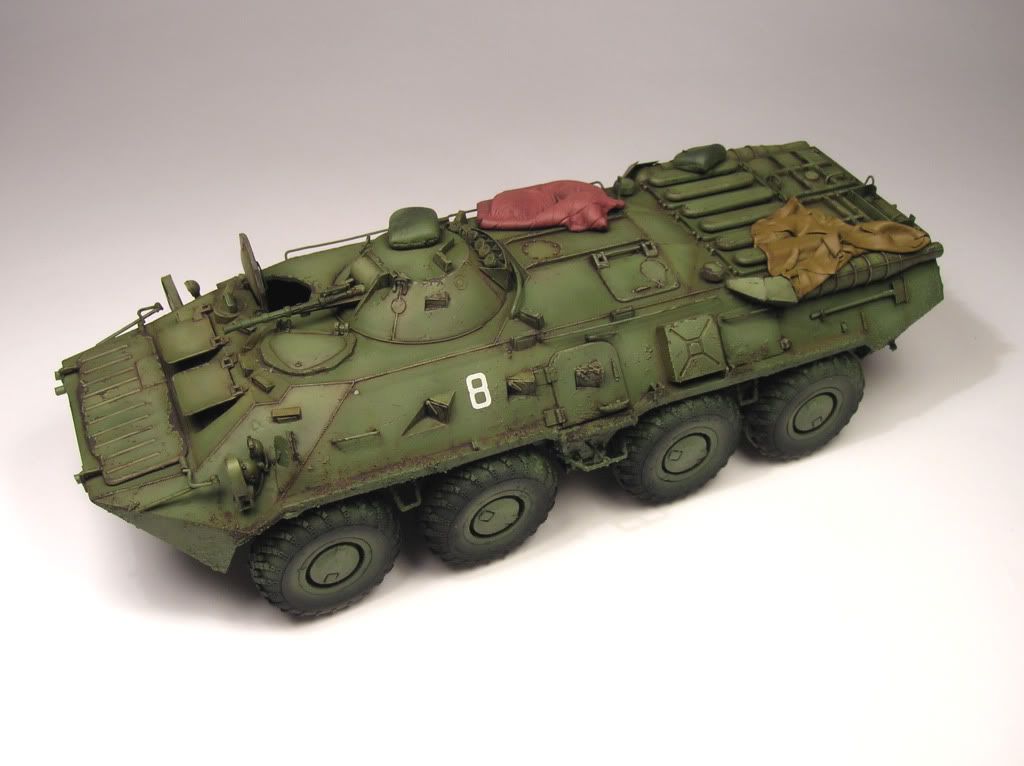
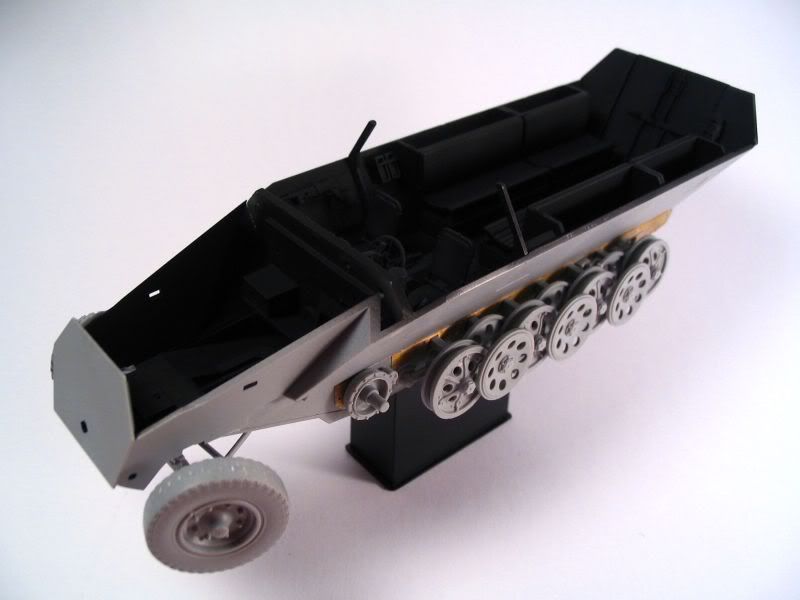
As for the priming, I always use XF-1 flat black from Tamiya. I try to cover all the surfaces, specially the retired corners, which never get the basecoat and the weatherings, and i think its a good pre-shading technic as well.


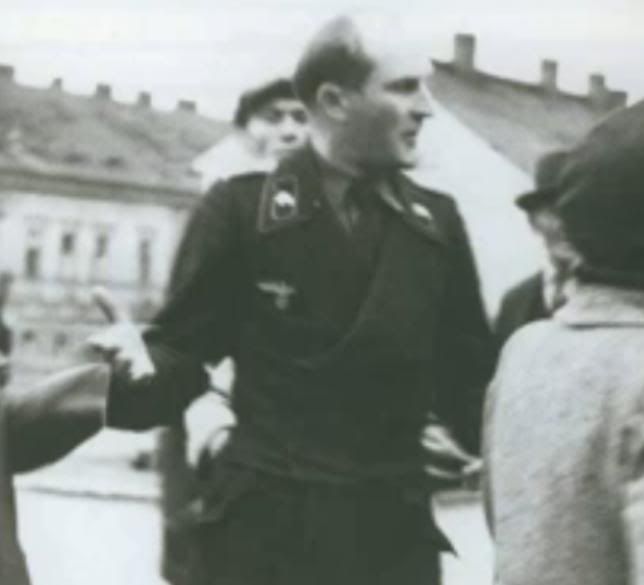
I surfed on the Internet last week and i found the real Hans! Yes, its true, he was almost bald, just a little hair on his scruff :) And how bizarr, this photo made in Czech,1945.


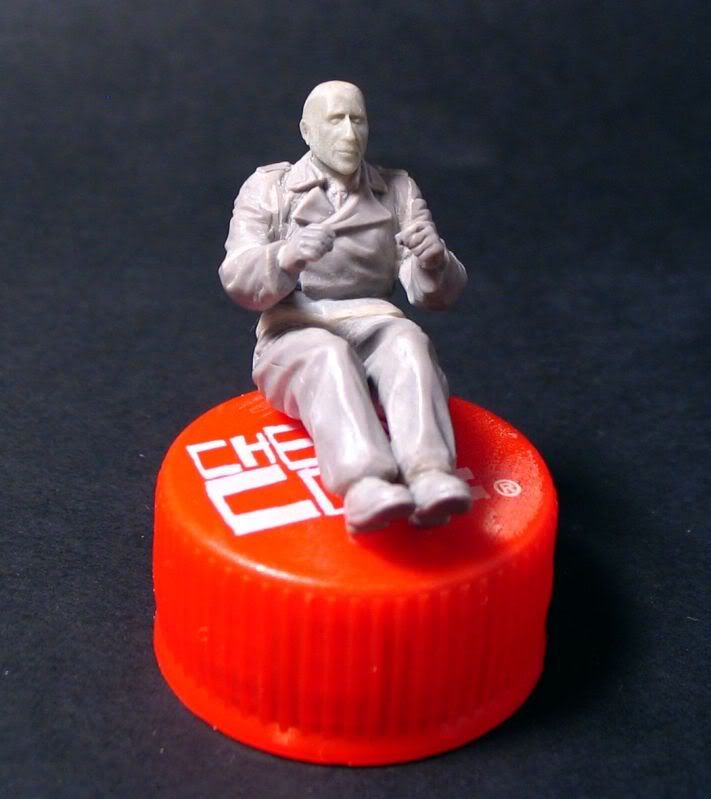
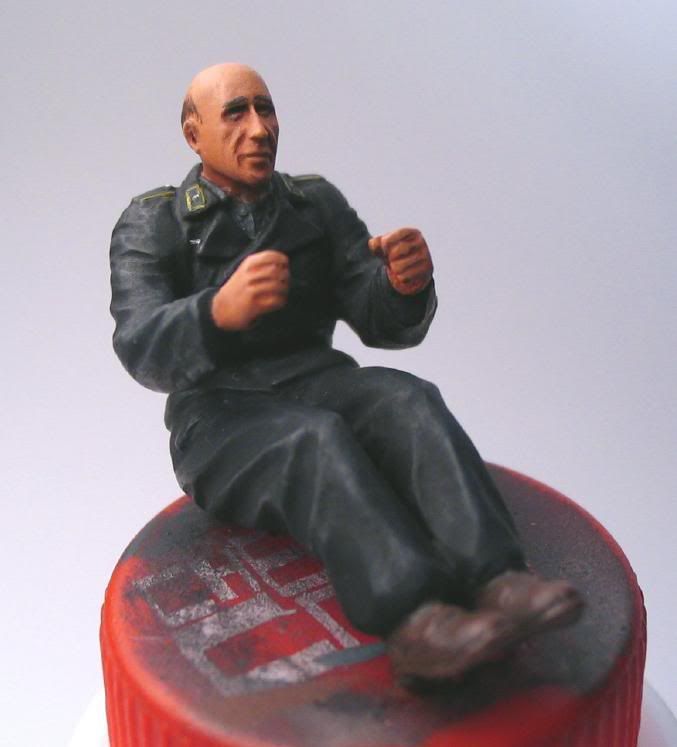
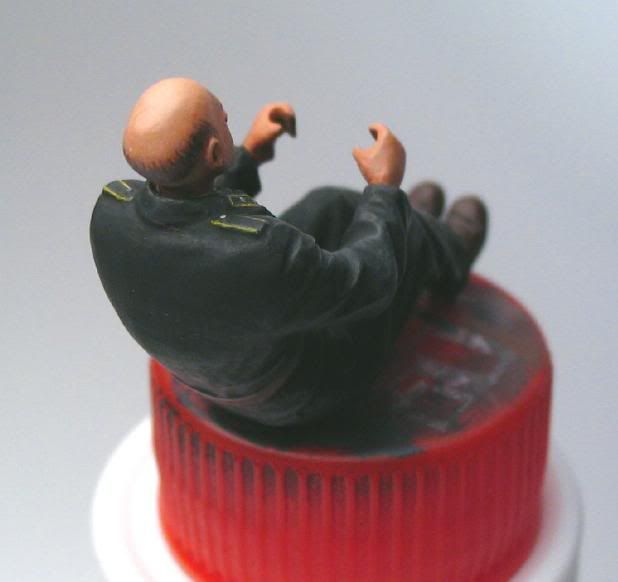
And here is the miniature Hans. I didn't paint too much details, he will be just a "supporting actor". The flesh-tones are darker than usual, cause he will sit into the cabin, so I calculated with the light conditions.


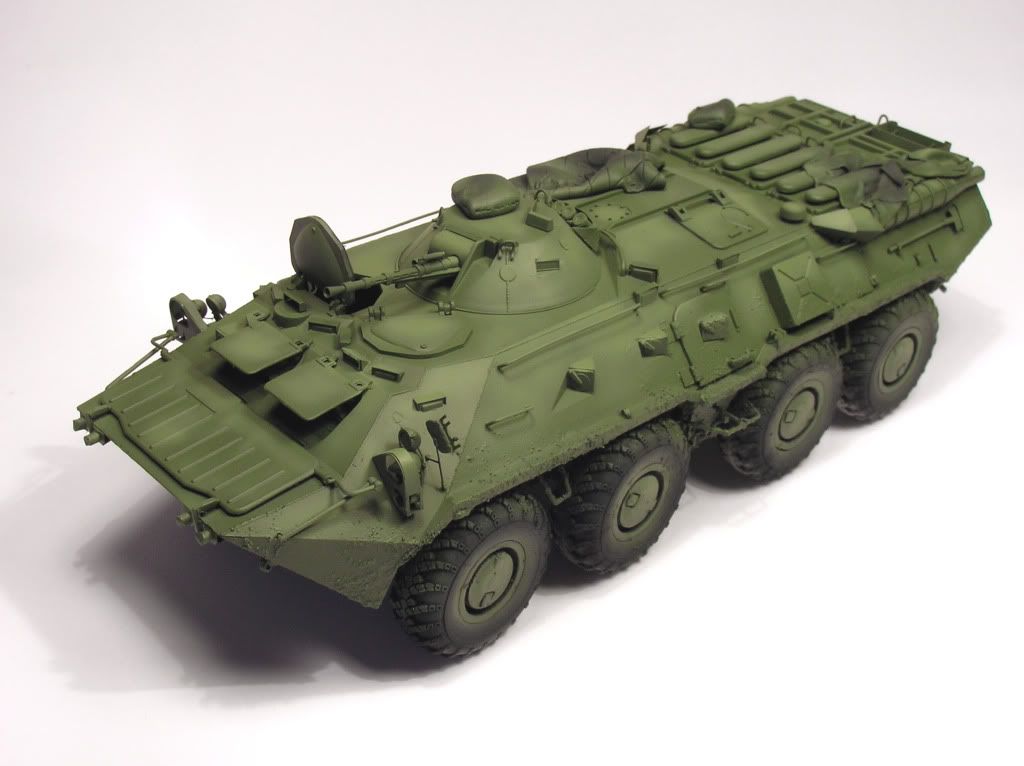
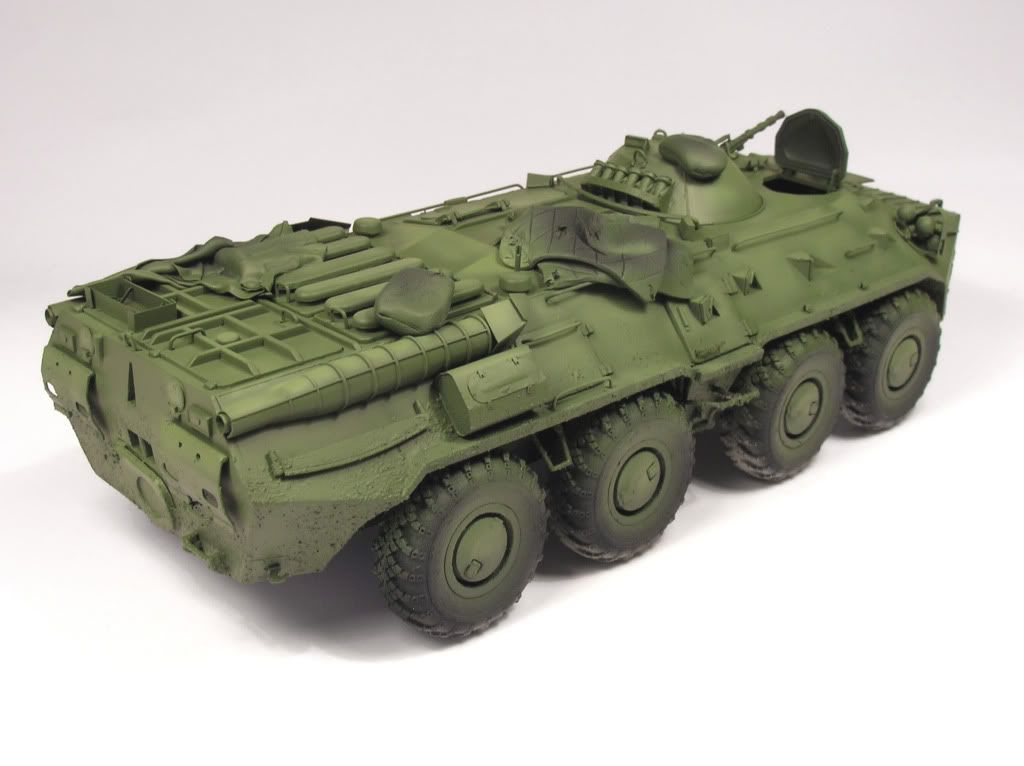
The next step is to paint the basecoat of the interior...I take a big breath...pics soon :)

kedd, január 19

Sd.Kfz. 234/2 PUMA (prologue)

As I was reading the Panzerwrecks 6. I have found a very good photo of a PUMA from the Ardennes campaigne. I decided that I will built it, and I will built it as much as accurate as I can.
Fortunately the book provides information about the unit that it belonged to. So it seem the vehicle was from the Pz.Aufkl.Abt.2 and formed part of  " Kampfgruppe von Böhm" during Wacht am Rhein.


This Puma has excellent details and challenges for a modeller. The Dragon kit with the aftermarket upgrade sets should do the trick, and of course some scratch build parts if neccessary.

I have started now the building, so pictures will follow shortly.

Cheers,
Aron

1000th pageviews

What a nice, round number! :)
Thanks everybody for the interest, we make models steadfastly!

SCMC members

vasárnap, január 17

BTR-80 Battle of Grozny 1999-2000 (part 2)

I began painting. I have started with primeing the whole vehicle to flat black. The black will help to create shadows in the later stage. I always use Tamiya or Gunze acrylics, because they are create a strong base. I do not like traditional primers, so I don't use tham.


After the primeing I have painted the BTR with valejo acrylics. I used some minor modulation to break the monotonity of the plain green color.


After the modulation I have added the filters with artist oils. And the chipped paint with valejo ss camo black brown.


Next phase will be the painting of the stowage and the mud. Later the figures

szerda, január 13

Sd.Kfz. 251/1 Ausf.D - part 3: 'Hans' the bald driver

Before the paint-work of the interior, and before i glue together the upper and the lower parts, i had to make the driver. Cause i am a fan of Miniart figures, the base came from the 35054 set. I like the poses, and the foldings of the clothes, those are perfect for my taste. 'Hans' almost fit for the driver's place, I just converted the arms, the hands, and the hip. I had to change the head, for a bald one, cause there are not enough space under the roof (which hold the MG above the driver cab). I did not use any details, because he will not visible too much. So, 'Hans' ready for the "life"...


szombat, január 9

Sd.Kfz. 251/1 Ausf.D - part 2: the lower part

 The winter holiday has given me the chance to start my new project. I began the building process with the lower part of the vehicle, cause i have to paint the interior first. The inside of the halftrack is so puritan, I just use some spare PE parts (e.g.: fire-extinguiser bracket, gasmask and MP-40 holder). I must sand the bench, cause it had too deep wood imitation.


I think everybody knows the famous Pakwagen photo from the Panzerwrecks 2. I love it, its a real veteran. We can note the bald tyre, and hard to believe its still working. I sand the left tyre, and i made some damage on the running surface.


On the front plate there is a hole for the crank. The cap of this hole is usually missed, who cared this little thing in the war!? . I drilled the cap and made the 2 small furrow on the sides. This could be a nice detail on the forepart.


The next step will be the driver, because he have to take a seat before i glue together the lower and the uppert side...

péntek, január 1

Sd.Kfz. 251/1 Ausf.D - part 1: the new project

Hi Lads!

First of all, we wish you a happy new year, 2010!

New year --> new project :)
When i built the Panzerwefer42 with MG151, i used the drilling from the Dragon 6217. I think the Dragon should call all of the Sd.Kfz. 251 kits as SMART, because we get all the parts to build a simple Sd.Kfz. 251/1 version.
This is my first Sd.Kfz. 251, and i love it! The original vehicle has a graceful-shape and a great engineering with the wheel and track combination. The model is the usual Dragon quality, nice details, but it need extra work cause of the flash. I have a full metal Friul track set for it, and i will use the Voyager bins and fenders. The interior will build out of the box with spare PE parts.

The story behind this vehicle is "under construction",  but i am sure it will play in May,1945, probably in Czech territory.

One more thing, this model will not base on a real vehicle,but who knows!? I will try to catch little details from a lot of original photos, and i want to show, how can a modeller take inspiration from period pics.

Pictures soon.....................